Important notes:
- Caleb’s attacks here are filed under three categories: Melee, projectile and hitscan. Melee is for close range attacks, projectile is for ranged attacks that have a visible projectile sprite that must connect with the enemy to deal damage, while hitscan refers to attacks where if you have line of sight on your target the damage is dealt instantly upon firing without a visible projectile sprite making contact with the enemy.
- Every attack Caleb has in this game has an element attributed to it, while enemies have elemental weaknesses and resistances (e.g. bloated butchers are weak to fire, hellhounds resist fire, etc). Exploiting weaknesses can help conserve ammo and kill things faster, so it’s worth paying attention to attributes!
- Every weapon except the pitchfork also has an alt fire (typically done with a right mouse button click). These generally cost more ammo than the primary fire and may have a different elemental attribute. They’re often also very powerful.
- If any information here is incorrect or if there’s strategies for certain weapons I forgot to include or just straight up didn’t know, please message me either on Neocities or via email! These descriptions are simply based on how I’ve played the game myself, and there’s a chance I’ve gotten complacent and accidentally ignored other potential strategies.
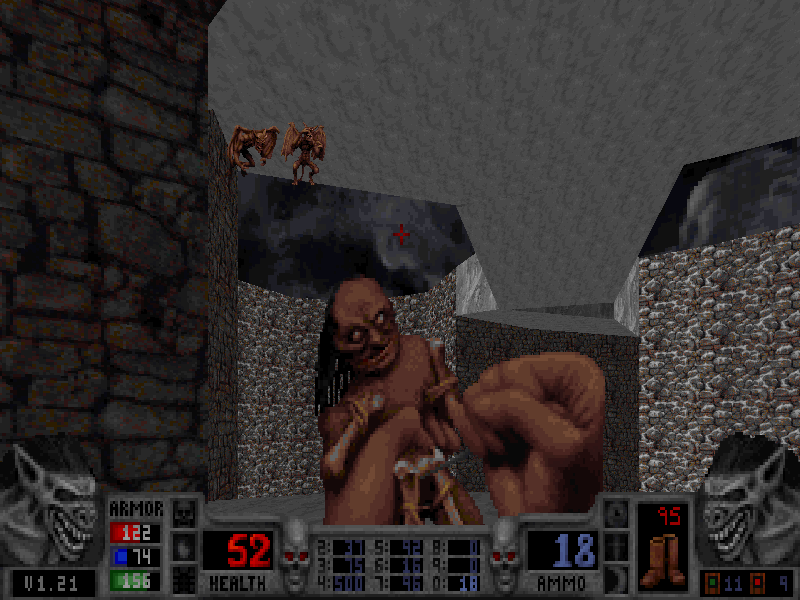
![]() Pitchfork
Pitchfork
- Attribute: Physical
- Attack type: Melee
- Useful against: Zombies, small enemies that aren't rats
Not a bad melee weapon with some interesting properties. You’re still not likely to be using it over ranged weapons once you have them, but for ammo conservation it has uses.
The pitchfork attacks by a forward stab that hits four times at once in a horizontal row, once for each prong on the fork. For maximum damage you’ll need to aim at the direct center in order to ensure all prongs connect. The pitchfork is capable of killing zombies without the fake-out death animations they frequently perform when injured by other weapons. In addition, the pitchfork is also capable of stunlocking all varieties of cultists. Typically cultists come in groups, so this isn’t too useful and will leave you open for attacks by their backup, but if there’s a single stray cultist you can get the jump on then it’s a viable option. Try it on the cultist behind the mausoleum in E1M1 to get a feel for how it works!
The pitchfork has no alt fire. Pressing the alt fire button simply performs the same stab as the primary fire button.
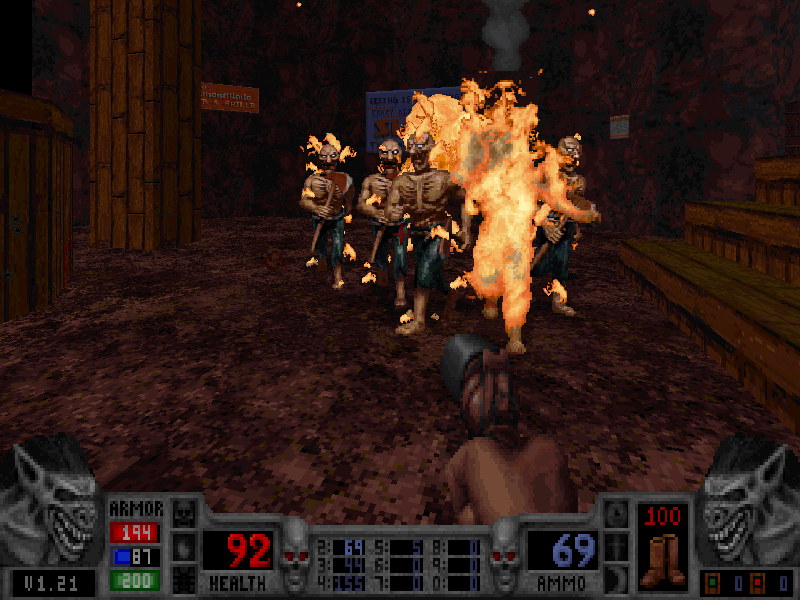
![]() Flare Gun
Flare Gun
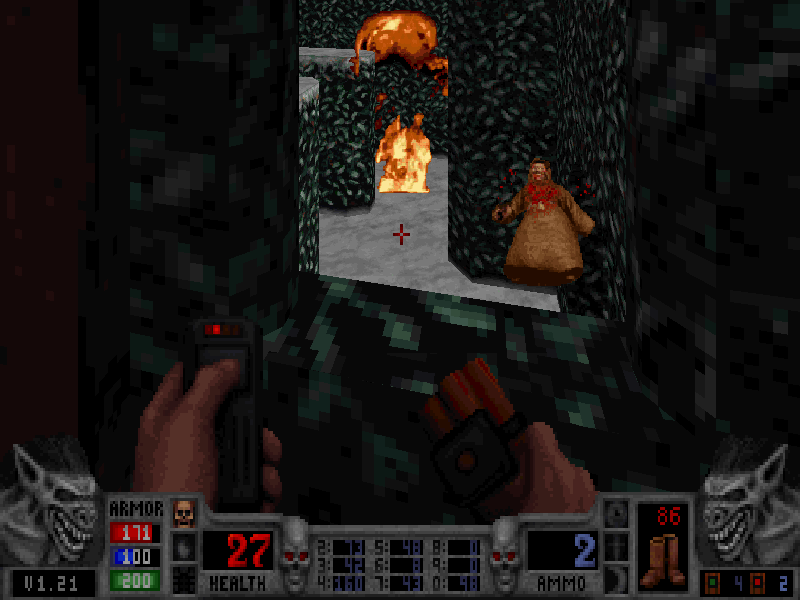
- Primary fire attribute: Fire+Physical
- Alt-fire attribute: Physical
- Attack type: Projectile
- Max ammo: 100
- Alt-fire cost: 8 ammo
- Best used on: Cultists, fanatics, bloated butchers
 An early example of Blood’s genius weapon design, the flare gun is far more viable for the remainder of the game than most starting pistols in first-person shooters. Flare gun projectiles stick to the sprites of enemies and deal gradual fire damage until they either fizzle out or light the entire poor sap ablaze. A single flare gun shot is enough to kill cultists on any difficulty other than Extra Crispy. It’s slow, but as you only need to land one hit for a cultist to be a dead man walking, this allows you to pick off enemies from a distance and then quickly dash behind cover while they slowly fry. A great choice for thinning out enemy numbers before rushing in for the more aggressive run-n-gun kind of combat. Something to note is that flare pistols actually deal damage for a bit longer after the visible sprite has fizzled out. A bloated butcher on Well Done difficulty only needs two flare shots to take it down, but you might get tricked into thinking otherwise because the flare shots stuck to their sprite vanish a few seconds before they die.
Yes, the flare gun does do physical damage in addition to fire damage, astonishingly. Once the fired projectile makes contact with the target’s hitbox, it deals a small bit of physical damage, while the flare sticking to them does gradual fire damage. The physical impact of the flare gun’s shots is enhanced by firing at your target at point-blank range. This is why on Well Done difficulty a point blank pistol shot can one-shot a zombie, while long-distance shots from the flare gun will instead take two hits to kill a zombie, due to the drop-off in damage the further the projectile has to travel before impact. You can even kill Phantasms with the flare guns in spite of them being immune to everything but physical.
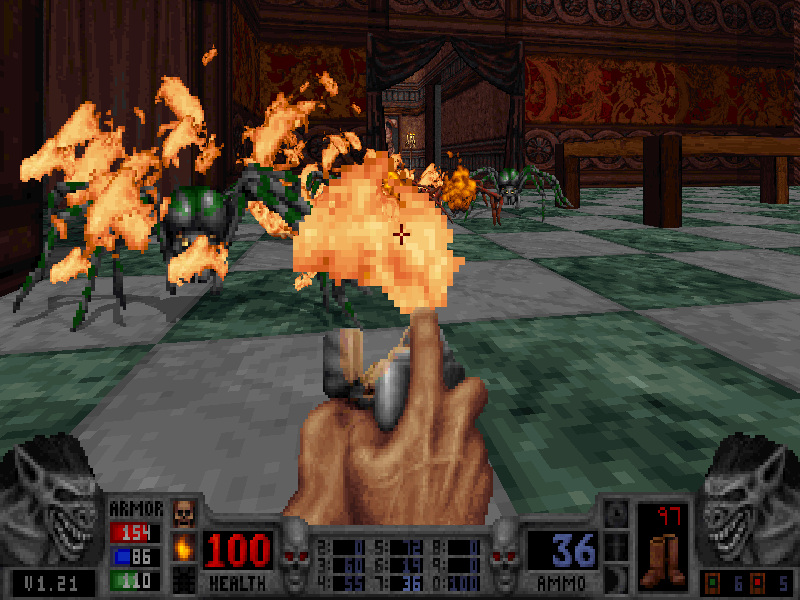
The alt fire essentially turns the flare pistol into the napalm launcher, using 8 ammo to launch an exploding diamond of fire projectiles that hit hard and deals gradual fire damage to all those that it doesn’t kill on impact. It’s good, but on the whole the napalm launcher will usually cover the same ground of the flare pistol’s alt fire at a lower cost.
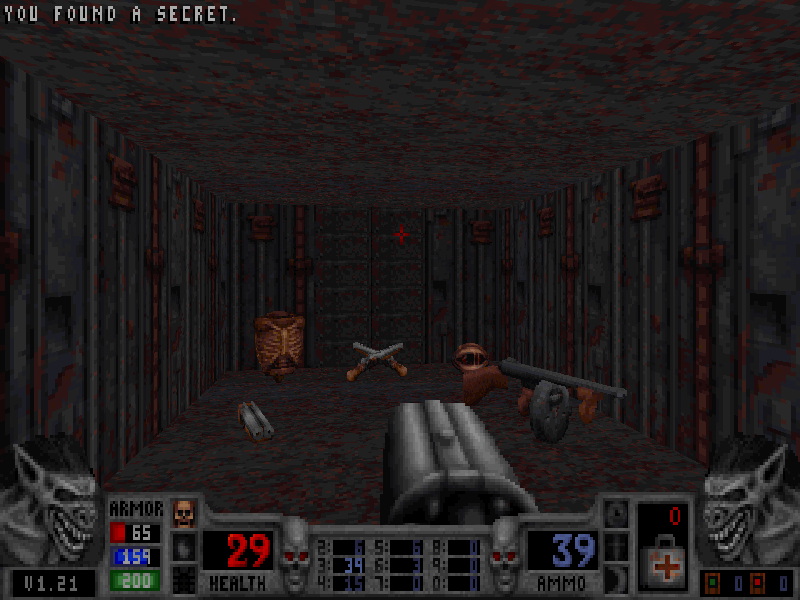
![]() Sawed-Off Shotgun
Sawed-Off Shotgun
- Primary fire attribute: Physical
- Alt-fire attribute: Physical
- Attack type: Hitscan
- Max ammo: 100
- Alt-fire cost: 2 ammo
- Best used on: Zombies, cultists, fanatics, phantasms, gill beasts, small enemies
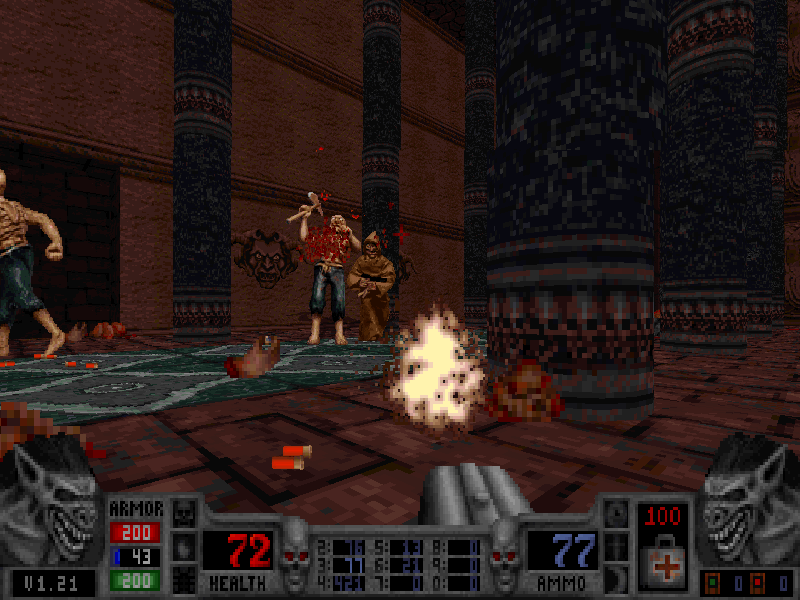 The classic stand-by of any good FPS arsenal. The shotgun is pretty conventional compared to how unconventional the rest of the arsenal is, but this weapon is so good that you’re hardly going to be complaining, and it has a unique quirk to it too. In contrast to Doom, where the single-barreled and double-barreled shotguns are different weapons, Blood instead combined both into the same weapon. Primary fire is for a single barrel shot, allowing you to do two quick shots before having to reload, while the alt fire is an excellent double barreled shot.
Honestly, the single barreled shot is kinda wimpy. It’s useful for smaller enemies like spiders, rats and choking hands, but that’s about all you’ll be able to one-shot with it. When it comes to cultists, the single barreled shot is a good choice when they're at mid-range as long as you’re ready to dive back into cover between each shot, but generally the Tommy gun is a safer choice in that situation. On the other hand, if you already have the shotgun equipped, the single barreled shot gives you the opportunity to get some quick shots in at cultists when you don't have time to fumble with weapon switching. The double-barreled shot however is the star here, which results in the shotgun being the most versatile physical weapon in the game. Zombies and cultists can both be one-shotted by the alt-fire which already makes it immensely valuable, but in addition to that, it also inflicts heavy knockback on your targets as well. As a result, hard-hitting melee enemies such as Phantasms and Gill Beasts can be knocked out of their attack range before they have a chance to inflict damage. There’s no better choice for close-range combat in this game, thanks to the high DPS and knockback, while averting the danger of splash damage that comes from explosive fire-based weapons.
A quirk to keep in mind is that once you fire the single-barreled shot once, your shotgun only has one shell loaded in it, meaning that if you press the alt-fire button you'll still only shoot one shell. There's no manual reload button, Caleb just automatically reloads when both barrels are emptied. However, if you switch to another weapon and then switch back to the shotgun, both barrels will be reloaded once it's reequipped.
![]() Tommy Gun
Tommy Gun
- Primary fire attribute: Physical
- Alt-fire attribute: Physical
- Attack type: Hitscan
- Max ammo: 500
- Alt-fire cost: 14+ ammo
- Best used on: Cultists, fanatics
 Here's your chaingun equivalent, a rapid fire machine gun for fulfilling your 1920s New York gangster fantasies. It's not the most accurate or high damage gun out there, and it can burn through ammo fast, but this is mitigated by a high max ammo count (higher than the cap in both Doom and Duke 3D) and being the best stunlocking weapon in the game. Cultists will not be able to shoot you if you keep the pressure on them with the tommy gun, as each hit temporarily staggers them, and the poor accuracy ends up actually being a positive since the spread of bullets is enough to stunlock multiple cultists at once as long as they’re close together. It's not really particularly useful for other enemies unfortunately, but given that cultists are the most common enemy type you’ll still find plenty of usages for it. It works okay for zombies but it's also a waste of ammo, while other enemies like Phantasms and Gill Beasts are better dealt with via the shotgun. It's not the worst for crowd control when fighting the Mother Spiders for what it's worth. It'll burn through all of your ammo but it is one of the safest ways to take the Mother Spiders out if you're willing to make that sacrifice, thanks to your rapidfire bullets instantly killing any small spiders the second she spawns them.
The alt-fire meanwhile? Hell if I can find a good usage for it. Caleb wildly swings the tommy gun around while firing it, spreading bullets across the entire screen. It’s inaccurate, wastes ammo, leaves you open and tends to struggle to stunlock things that aren’t directly in front of you, at which point you’re better off using the primary fire. Let me know if there’s any situational usages for this that I’m missing.
![]() Napalm Launcher
Napalm Launcher
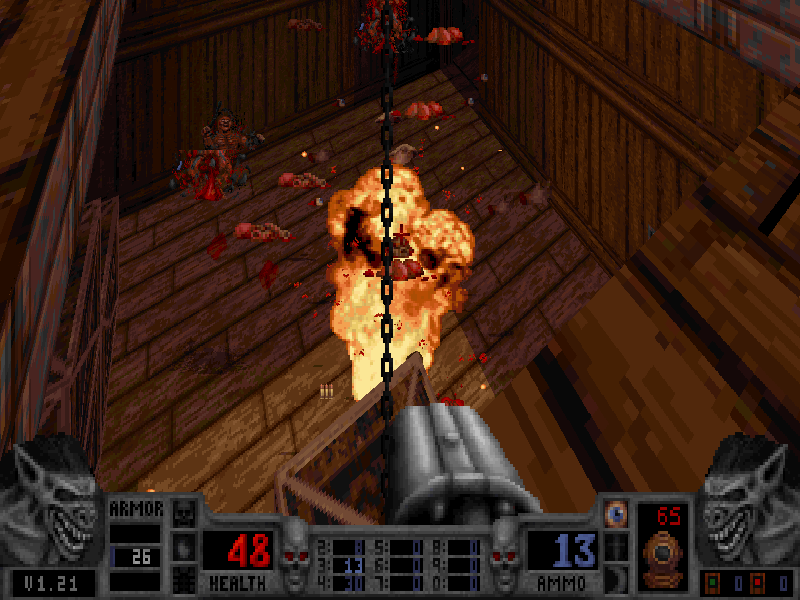
- Primary fire attribute: Fire+Physical
- Alt-fire attribute: Fire
- Attack type: Projectile
- Max ammo: 100
- Alt-fire cost: 12 ammo
- Best used on: Damn near everything except phantasms, hellhounds and beasts.
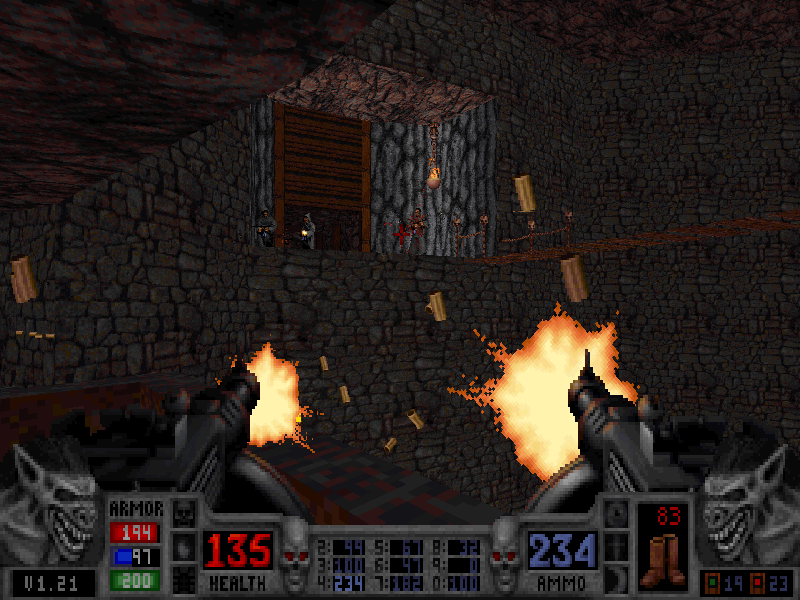
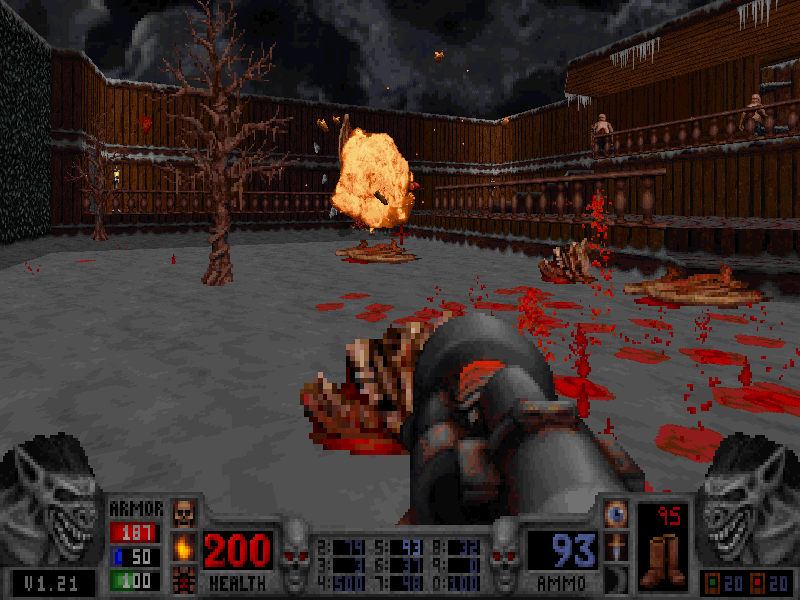 Yeah, the Napalm Launcher is a little overpowered. Given how brutally balanced this game is otherwise however, you take what you can get to even the odds. The primary fire shoots a fireball that explodes on impact. It hits hard with the force of dynamite and lights everything it doesn’t instantly kill ablaze akin to the flare gun’s alt-fire. It’s this game’s equivalent of the Quake rocket launcher, but if you always had Quad Damage active.
The napalm launcher is capable of one-shotting nearly every enemy in the game up to Well Done difficulty, with the only exceptions being hellhounds and boss monsters, and of course the phantasms since they’re immune to non-physical attacks. Like the flare gun, the napalm launcher does do a little physical damage on impact, but not enough to justify attempting a phantasm kill with. Ammo is stingy for it early on, especially in Episode 1, but by the later levels in the following episodes you’ll have the freedom to use it as a primary weapon. You do however have to be careful with it, naturally. That much destructive power makes it easy for you to blow yourself up or light yourself on fire. It’s less safe in general than the dynamite, which gives you more control over your throwing arc and if they explode on contact or not. Unlike the dynamite however, the napalm launcher is fast, thanks to not having to charge up your throwing arm before firing. Aside from crowd control, it’s also excellent for taking out gargoyles. A direct napalm shot can one-shot a gargoyle on Well Done, quickly eliminating the threat of a highly mobile and ordinarily tanky enemy before they have a chance to cause issues.
As for the alt fire, it’s too costly to use under most circumstances, but when you do get the chance, it’s powerful enough to clear an entire room. It launches a firebomb that then explodes into more firebombs that then explode into EVEN MORE firebombs. Nothing in that room is surviving. That goes for you, too. Don’t use this unless you have a clear escape route or vantage point where you’ll be safe. This alt-fire was added in version 1.10, and persisted in all following versions. In the earlier versions of the game, the napalm launcher simply didn’t have an alt-fire.
![]() Dynamite
Dynamite
- Primary fire attribute: Fire
- Alt-fire attribute: Fire
- Attack type: Projectile
- Max ammo: 50
- Alt-fire cost: 1 ammo
- Best used on: Hordes, enemies that haven't noticed you yet, enemies around corners
 Dynamite has a steep learning curve, but it’s amazingly versatile and satisfying to master. No other weapon in the game gives you the level of control that the dynamite does, which allows you to do a lot of creative trick shots to clear out enemies before they’ve even seen you. I’d consider it Blood’s most defining weapon honestly. In many ways it embodies the creative mechanics and unconventional tactics that make the game stand out from the crowd, in spite of effectively just being a grenade.
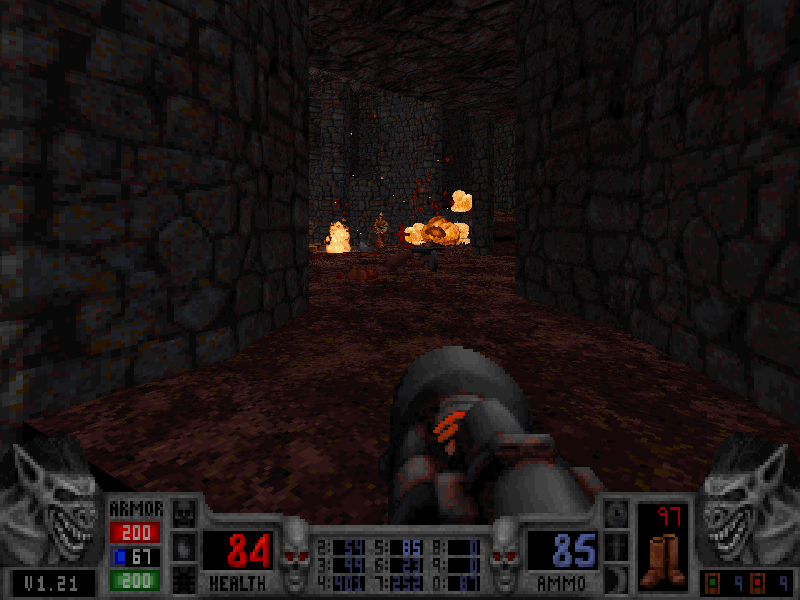
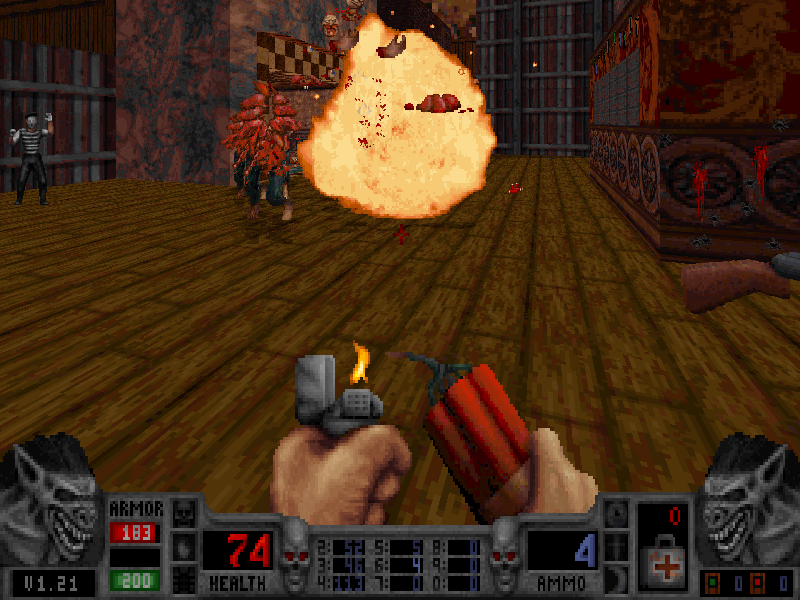
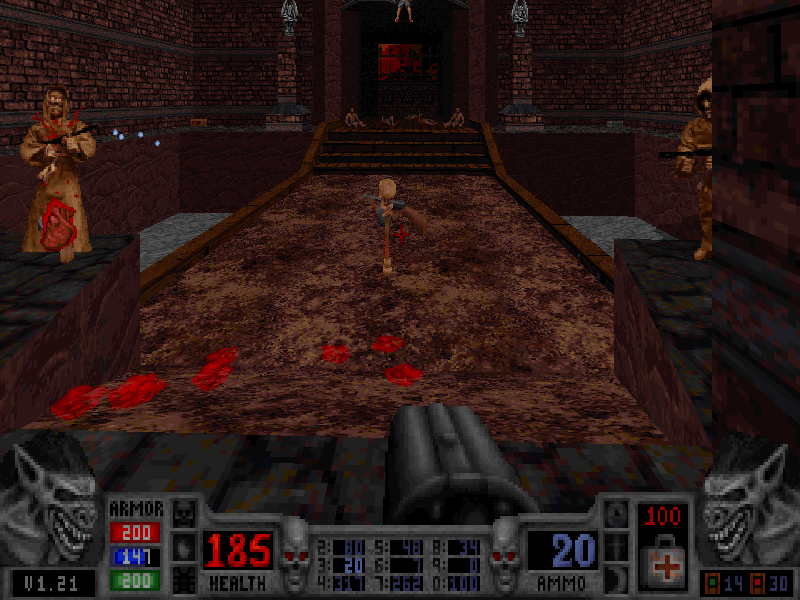
The longer you hold down the primary fire button, the further Caleb will throw the dynamite when you let go. As a result, dynamite is fairly slow and leaves you open. If you’re intending to use it on enemies already alerted to you, you’ll either need to backpedal while you ready the throw or charge up the throw from behind cover before zipping out to toss the dynamite. This might sound like a severe setback, but there are constant opportunities for using dynamite present throughout the entire game. Enemy behind a wall? Lob dynamite over it. Enemy up on a ledge above you? Lob dynamite up there. Not sure if there’s enemies waiting to ambush you behind the next doorway? Find out by tossing dynamite in there and seeing if anything screams. Swarm of zombies chasing you? In this case, the dynamite can actually be more effective than the napalm launcher if you time your throw well enough to have it land right in the middle of the horde, as opposed to having the zombies in front shield the ones in back if you fire napalm directly at them.
 If that's not enough, then the alt fire adds even more possibilities. Dynamite thrown after prematurely lighting it with the alt fire will not instantly detonate on impact, instead only exploding once the fuse has burned all the way down. As such, this allows you not only to plant dynamite by your feet and then flee before the detonation, but also do even more unconventional strategies such as ricocheting thrown dynamite off of walls to hit enemies around corners. More than any other weapon in the game, Blood's levels feel designed with the specific intention of providing opportunities to use the dynamite in creative ways, and it's a joy to use as a result.
In addition to the standard dynamite, you can also get remote bombs and proximity bombs, two variants on the dynamite that each have their own ammo pool (also capped at 50). The remote bombs allow you to control when you detonate the explosives. You throw a remote bomb and then when you next press the fire button, Caleb presses a button on a remote and detonates the bomb. Very useful, helps ensure that you never waste ammo. Proximity bombs are harder to use though. If an enemy steps on a proximity bomb, then it automatically detonates on its own. Good for setting up traps, however Caleb can also detonate proximity bombs by walking too close to them. I find these kind of clumsy for single-player usage, they definitely feel better suited for multiplayer.
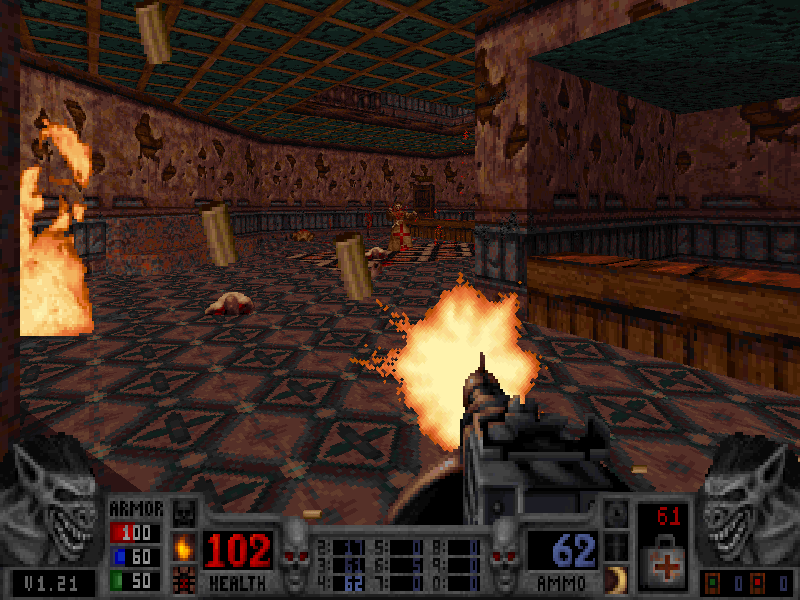
![]() Aerosol Can
Aerosol Can
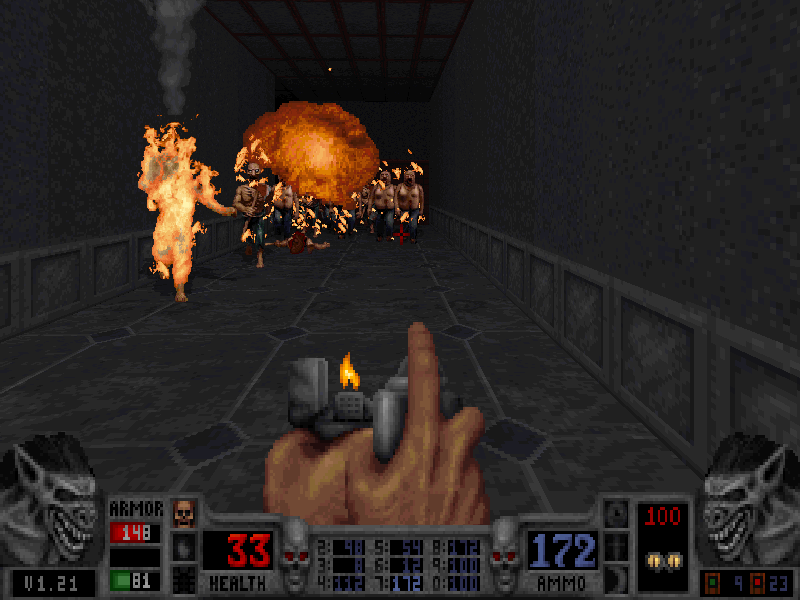
- Primary fire attribute: Fire
- Alt-fire attribute: Fire
- Attack type: Projectile
- Max ammo: 288
- Alt-fire cost: 48 ammo
- Best used on: Zombies, Bloated Butchers, small melee enemies, hordes in tight corridors
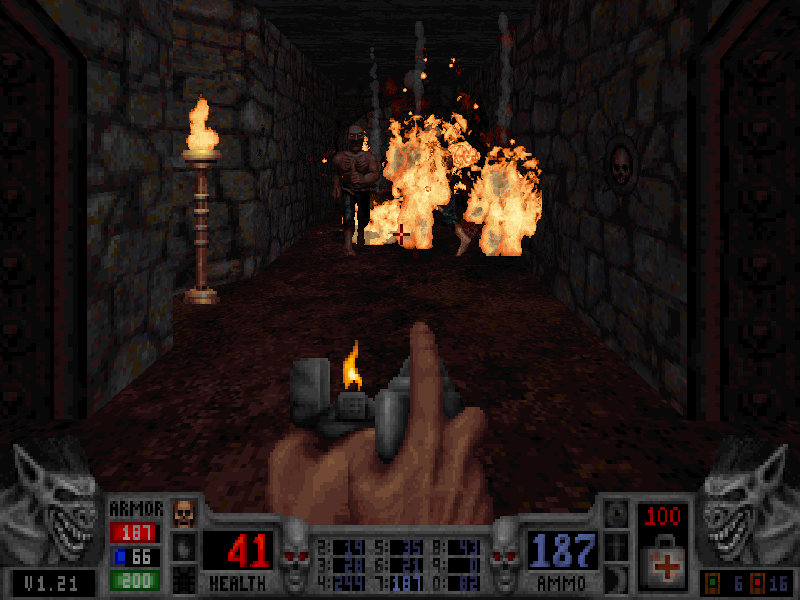 It took me a while to warm up to the aerosol can. In fact, the first draft of this writeup had me call it the only weapon I straight up disliked. After some more experimentation though, it clicked with me. Its functionality is that of a flamethrower, with Caleb holding a lighter in front of the aerosol can to produce clouds of fire. The damage dealt by the aerosol can is pretty low and it takes a long time to kill things, which are the reasons why I found it underwhelming in the past, not helped by the fact that it’s short-range and inaccurate. The more you move left or right, the harder it is to hit anything with the aerosol can, and that includes circle strafing. The napalm and dynamite are faster crowd control killers, and the shotgun is better for close range kills, so where does that leave the aerosol can?
Where the aerosol can shines is specifically in crowd control of low-tier melee enemies, especially in tight corridors and other cramped environments. The shotgun can usually only take out a single target at a time, and the dynamite and napalm are dangerous at close range due to the splash damage, so that’s when the aerosol can comes in handy. Short range it may be, but the aerosol’s fire clouds have a wide range that can cook large groups of zombies all at once, when they’re too close for dynamite to be viable. In addition, since small enemies tend to come in large hordes and also be very fast, in addition to having low HP, the aerosol can is great for crowd control on rats and spiders, which can be trickier to use explosives on due to them constantly rushing you and sticking close-range enough to you to cause dynamite and napalm to blow up in your face. It’s not bad on bloated butchers too, since they’re weak to fire, but personally I still prefer just using the flare gun on them. Just don’t use it on cultists or fanatics, it is far too slow a damage dealer for either of them.
 Part of what makes the aerosol can feel weak and underwhelming at first is that it doesn’t really deal direct damage. It doesn’t have the physical damage dealt on impact of the flare gun, nor does it have the explosion damage of the dynamite or napalm. The aerosol can is purely for inflicting an ailment on the enemy, to use RPG terms, and that ailment is burn. When flames from the aerosol stick to your enemies, it's those flames that are gradually doing chip damage, while the projectile flames you’re shooting at your enemies simply accelerate the damage dealt by those flames by covering them in even more long-lasting ailment flames. It doesn’t give very good audio-visual feedback on the damage it deals, in contrast to the rest of the arsenal. It takes a lot of experimentation to get a proper feel for how it deals damage and how to actually get the most out of your limited ammo for it. I don’t recommend using it on single targets at all. It’s very much a crowd control weapon and that’s where it excels both in ammo consumption and damage dealt.
The alt-fire for the aerosol can has you light an entire can and throw it like a molotov cocktail. It uses 48 ammo since that’s the amount of ammo you get every time you pick up an aerosol can, but if you have less than 48 ammo left you can still use the alt-fire, it’ll just reduce your ammo to 0. The range on this alt-fire is excellent, having the widest splash damage of any explosive, but again the feedback can leave it feeling a bit wimpy. It seems to deal a small bit of explosion damage on impact, but not much.
![]() Tesla Cannon
Tesla Cannon
- Primary fire attribute: Tesla
- Alt-fire attribute: Tesla
- Attack type: Projectile
- Max ammo: 250
- Alt-fire cost: 35 ammo
- Best used on: Hellhounds, Cerberus, stone gargoyles
 When I thought I understood how the element system worked in this game, it then threw the tesla cannon at me. To give a short version of it, the tesla cannon is more or less its own element. In multiplayer, the tesla cannon deals physical damage to Caleb, but in the single-player campaign it’s not treated as such. It’s effective on the stone gargoyle and doesn’t do damage to the phantasm, and since the stone gargoyle is weak to spirit and the phantasm is immune to spirit, then it must be a spirit weapon, right? But then the zealot enemies introduced in the Plasma Pak expansion also resist the tesla cannon, but not the voodoo doll, a confirmed spirit weapon. Tesla is very much treated as its own thing that doesn’t adhere to the rules set up by other attributes in the game. So I’ll treat it as such too.
Anyway, the tesla cannon is good. Rapid-fire electrical shots, a minimum of five per button press, but more if you hold down the fire button. It’s fast, does heavy damage and is excellent for taking out those tankier enemies. In particular, it’s excellent against hellhounds, who resist most of your other heavy damage dealers such as napalm and dynamite. It can take down boss monsters quickly too, however as ammo is scarce for the tesla cannon, you may want to save it for hellhounds if you’re not confident in fighting them.
The alt-fire behaves very similarly to the BFG from Doom, firing an energy bolt that then explodes into a shockwave that damages everything surrounding it. It’s very powerful and can clear out whole rooms, but it has a pretty severe wind-up animation before it’s ready to fire and has a steep ammo cost. Also, unlike the BFG, the splash damage can hurt you, so you need to be careful.
![]() Life Leech
Life Leech
- Primary fire attribute: Fire+Physical
- Alt-fire attribute: Spirit
- Attack type: Projectile
- Max ammo: 100
- Alt-fire cost: 1 ammo per projectile fired
- Best used on: Hordes, enemies around corners or at the top of elevators
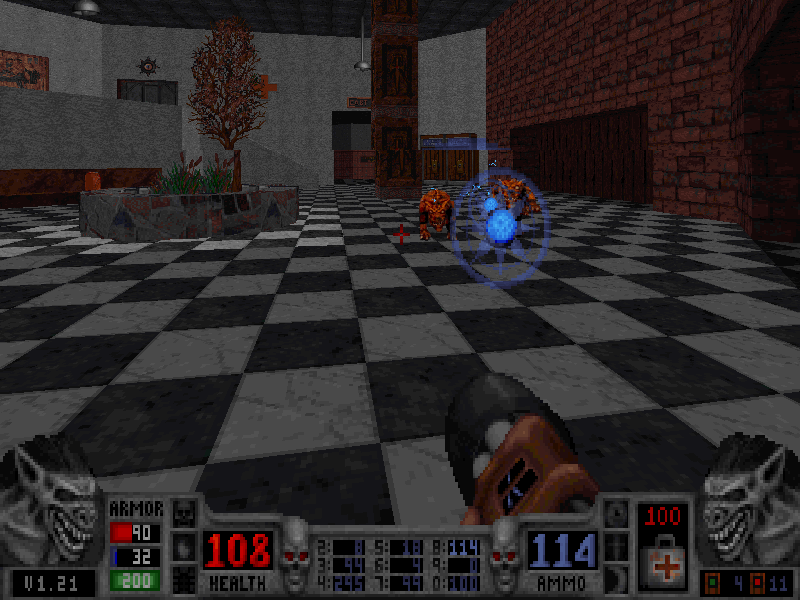
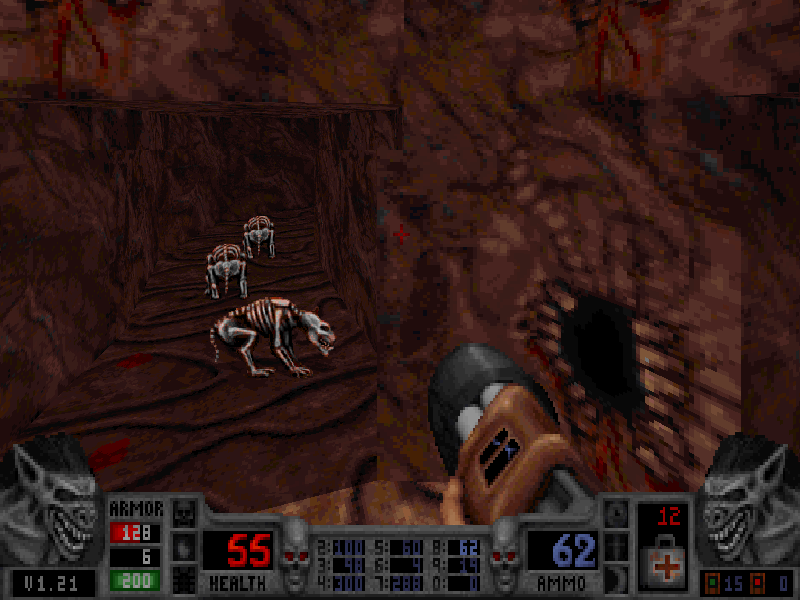
 You don’t get the Life Leech until the final episode, and due to that, in addition to scarce ammo, you don’t get much usage out of it sadly. It is cool, though, and there’s more chances to play with it in the expansion packs thankfully. The primary fire shoots a volley of 14 fireballs in rapid succession, dealing fire+physical damage. Given how costly it is to fire the life leech even once, it’s a shame that the ammo is so low. This may be due to the way the life leech was implemented in the earlier versions of Blood, as this is another weapon that was rebalanced in version 1.10 and all versions following. In those earlier versions, the life leech, as the name implies, would heal you if you used it on enemies, sapping their HP. It doesn’t heal heaps from a single enemy, but fire it in a crowd and you’ll see better results. In the later versions of the game however, the functionality is kind of inverted. You no longer heal when using the life leech, but instead, if you run out of ammo for it, you can still fire the life leech by casting from your own HP. The weapon has changed from a desperation attack used when your HP is low to instead a desperation attack used when your HP is high but your ammo is low. Using the life leech without ammo deals spirit damage to Caleb, so if you have spirit armour that will prevent more dramatic HP loss.
Personally, I prefer the alt-fire, which has Caleb place the life leech upright on the ground, where it turns into an automatic sentry turret, shooting spirit projectiles at anyone who comes near it. There’s a lot of fun ways you can use this alt-fire. Since you can use all of your other weapons while the life leech is in sentry mode, you can fight tankier enemies next to the life leech in order to hit them with both the life leech and your equipped weapon at the same time. You can also use it to clear out rooms of enemies while you sit back where it’s safe and watch the fireworks. There’s an ambush at the start of E4M6 that I always use the life leech’s alt-fire for. It’s also extremely effective at clearing out enemies waiting for you at the top of an elevator shaft. Place the life leech in the elevator, send the elevator up with the life leech in it and wait for the screams to stop.
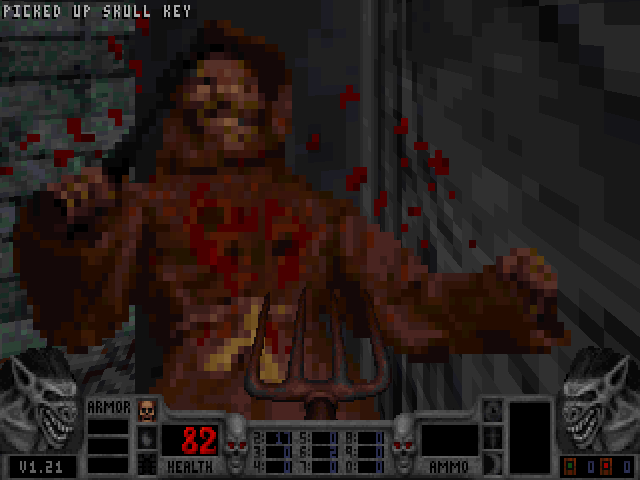
![]() Voodoo Doll
Voodoo Doll
- Primary fire attribute: Spirit
- Alt-fire attribute: Spirit
- Attack type: Hitscan
- Max ammo: 100
- Alt-fire cost: All remaining ammo (20 ammo in versions prior to 1.10)
- Best used on: Stone gargoyles, long-distance enemies
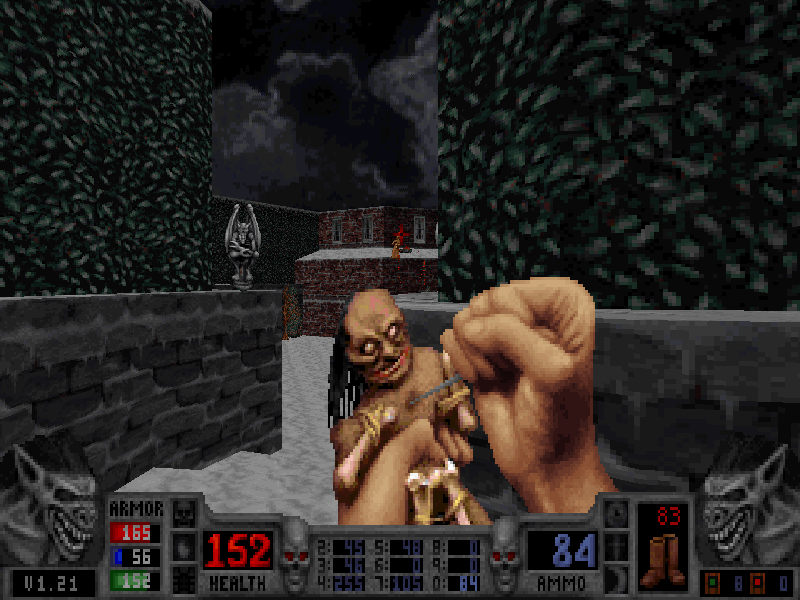 Effectively this is your sniper rifle, and it’s a hell of a sniper rifle at that too. The range on the voodoo doll is infinite, and there’s no drop off in damage output at longer distances. As long as you have any line of sight, even if it’s through a grate or fence or something else that would prevent physical sprites from travelling through it, the voodoo doll can hit them. It also autoaims, so your aim doesn’t even need to be particularly accurate as long as the enemy is on-screen. Caleb stabs the doll in different spots randomly, with a stab in the dick doing the most damage, naturally. Where he stabs the doll seems to also affect the ammo cost. Stab in the chest costs 3 ammo, arm costs 1, eye costs 2 and groin costs 9. As far as I can tell, there’s no way to control where Caleb stabs the doll. In addition, if no enemies are on-screen for the doll to damage, Caleb will instead accidentally stab his thumb with the pin, dealing 1 damage, but costing no ammo for the voodoo doll.
It’s by no means your fastest damage dealer, but it doesn’t matter when the enemy you’re stabbing is so far away that they can’t even see you, let alone attack you. It’s great for gargoyles too, since while their flying patterns can be erratic and annoyingly out of reach, all you have to do with the voodoo doll is simply have them on-screen when you press the fire button, and they’re done. In addition, it’s excellent on the stronger gargoyle variant, the Stone Gargoyle, which has a weakness to magic weapons. In spite of their massive amount of HP, the voodoo doll can take stone gargoyles out just as quickly as their fleshy counterparts thanks to that.
One of the strangest quirks of the voodoo doll is that it uses nearly no ammo when you use it specifically on bloated butchers, only using ammo when Caleb does the crotch stab. No other enemies affect the ammo consumption of the voodoo doll except for the bloated butchers, and I have no idea why. In spite of that, it’s not really an ideal strategy since the bloated butchers have a ton of HP and it takes forever to kill them with the voodoo doll, especially compared to fire weapons which they’re weak to.
I’m not big on the alt-fire, though. It depletes all of the ammo the voodoo doll has left (20 ammo in the pre-1.10 versions), which is already a cost I’m not crazy about, considering how useful the primary fire is. The way it works is that it deals heavy damage to the target you’re aiming at when you use it, and then also deals splash damage to every other enemy on the screen. The damage output just isn’t very good though. It pales in comparison to things such as the tesla cannon alt-fire, which functions similarly at a lower cost and with far more effective results. The slow wind-up animation also makes it difficult to aim the voodoo doll’s alt-fire, and it gives poor feedback on if it even did anything at all. If it works, it can be powerful. Unfortunately that doesn’t happen often, and since you can only use it once before being out of ammo, it’s hard to practice with.